A Step-by-Step Guide to Creating New Entries
In today’s digital age, ensuring the security of our sensitive information is of paramount importance. KeePass Version 2.52, a robust password management tool, empowers users to safeguard their passwords and other vital data. In this comprehensive guide, we will walk you through the process of creating new entries in KeePass, ensuring that you can efficiently organize and store your passwords with ease. So, let’s dive in and master the art of creating new entries in KeePass!
Click here for more information on KeePass and to download it.
Step 1:
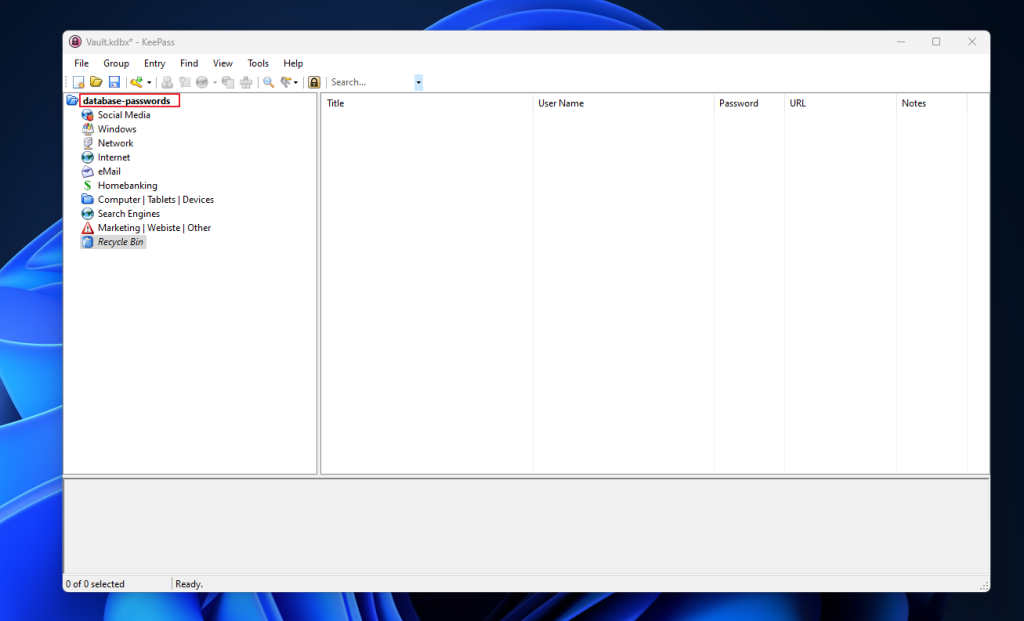
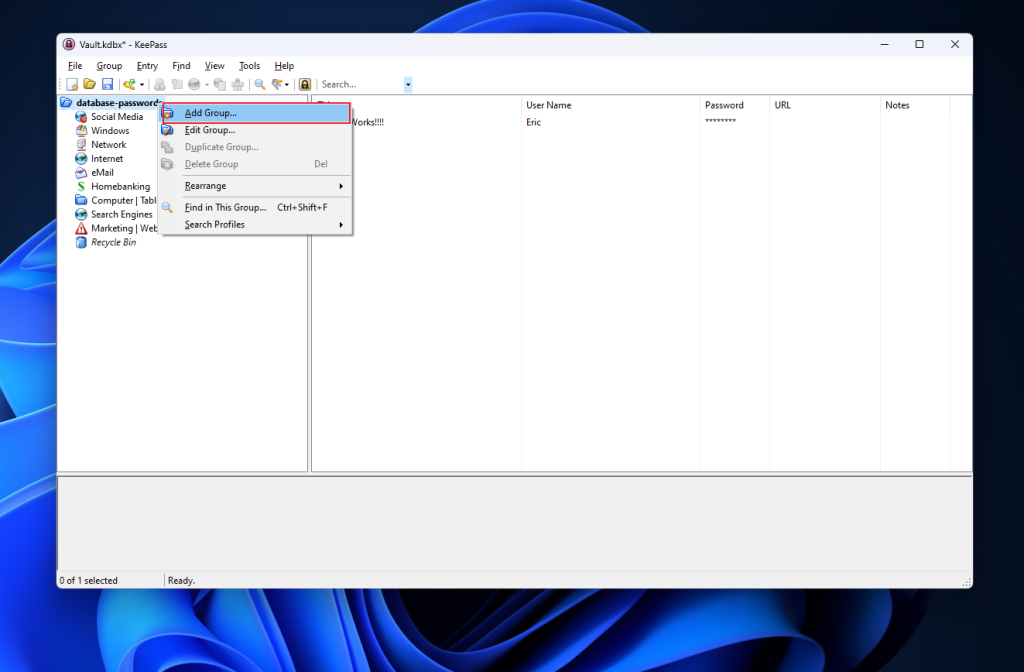
Accessing the Main Database Folder To commence the process, navigate to the left sidebar of KeePass and locate the main database folder. Right-click on it to reveal a context menu of options.
Step 2:
Adding a Group From the context menu, select the “Add Group” option. This action will prompt a new dialog box to appear.
Step 3:
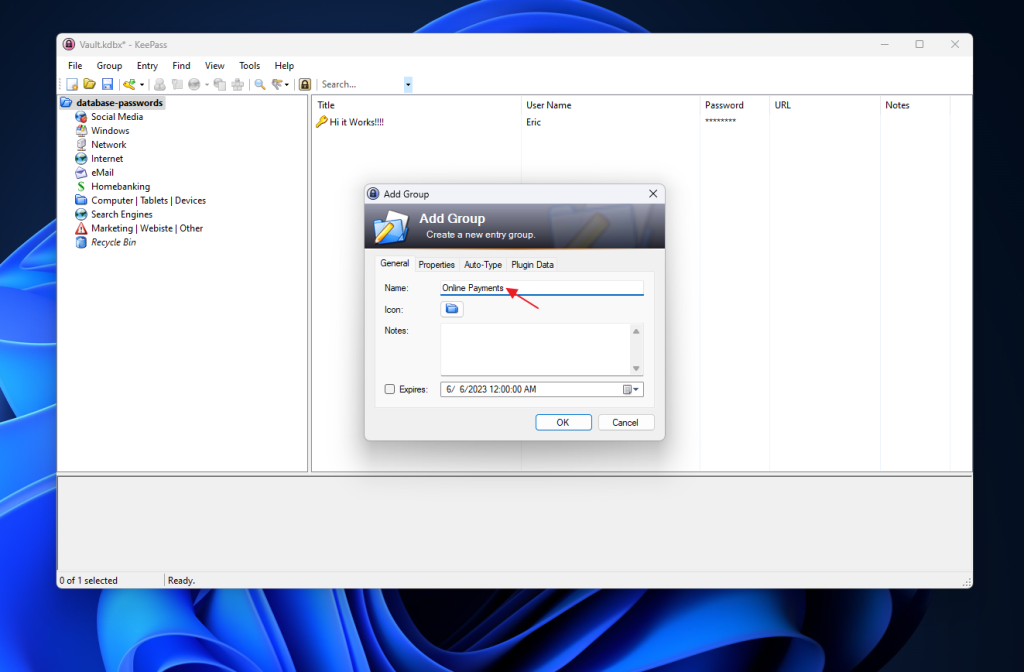
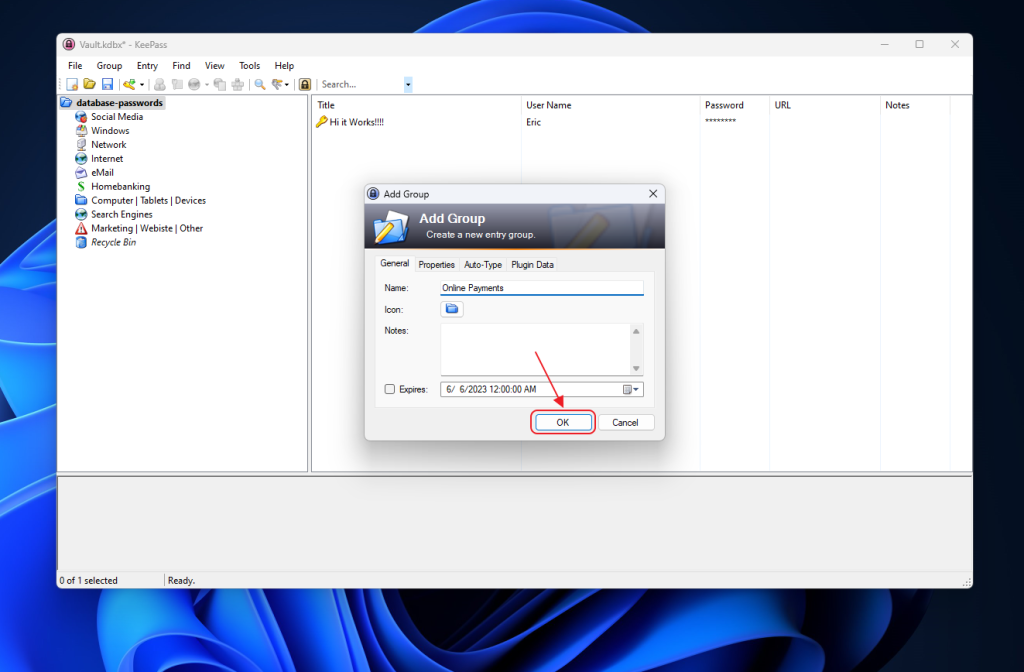
Naming the Group or Folder Within the dialog box, enter a suitable name for the group or folder you wish to create. Choose a name that will help you categorize and organize your entries effectively. Once you’ve entered the name, click “OK” to proceed.
Click OK to save.
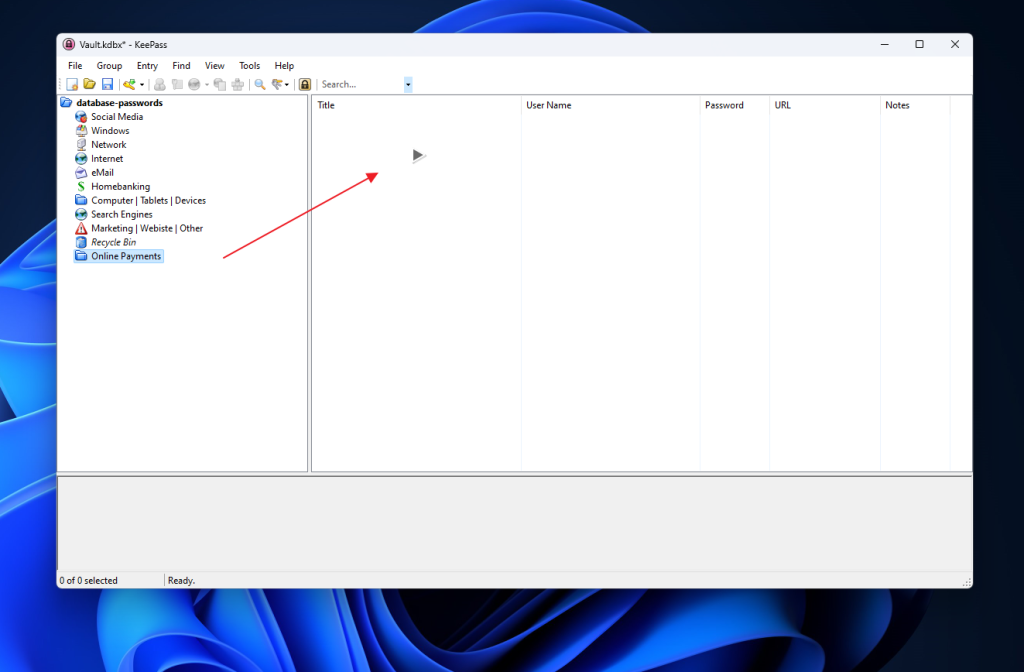
Selecting the Newly Created Folder After creating the group or folder, locate it within the left sidebar and click on it. This step will ensure that any entries added will be placed within the designated folder.
Step 5:
Accessing the Right-hand Sidebar To proceed further, direct your attention to the right-hand sidebar of KeePass. This area contains essential options and actions for managing your entries.

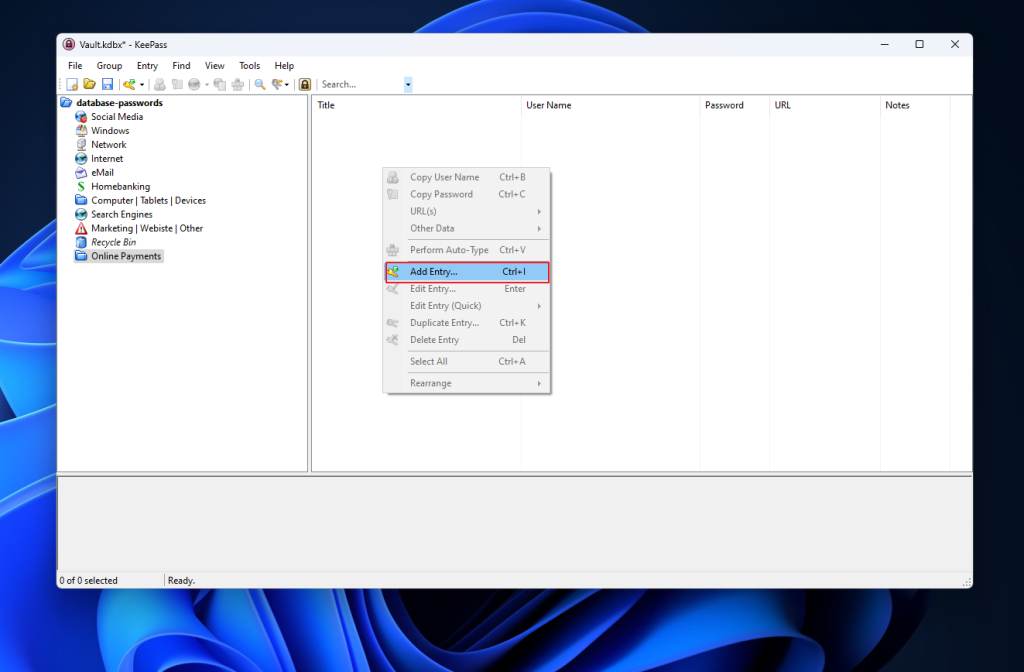
Step 6:
Adding an Entry Right-click within the right-hand sidebar and select the “Add Entry” option. This action will open a new window where you can input the details of your new entry.
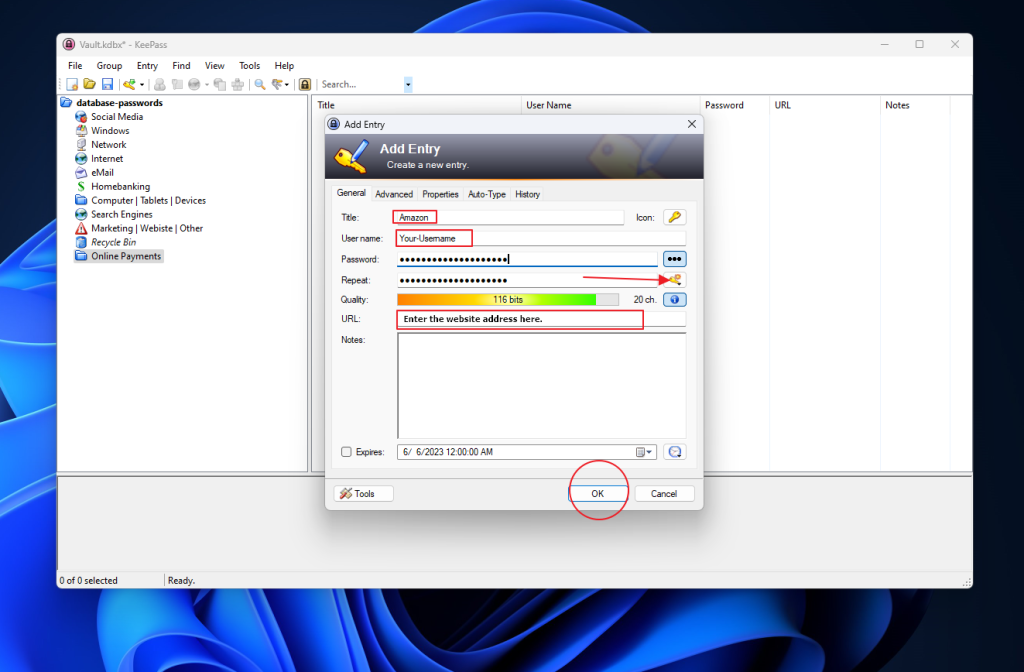
Step 7:
Entering Title and Password Information Within the entry window, provide a suitable title or name for the password entry. This title should help you identify the associated website or service. Additionally, create a strong and secure password using KeePass’ built-in password generator or input your own password.
Step 8:
Finalizing the Entry After entering the necessary details, click “Done” to finalize the creation of your new entry. KeePass will now save the entry within the designated group or folder.
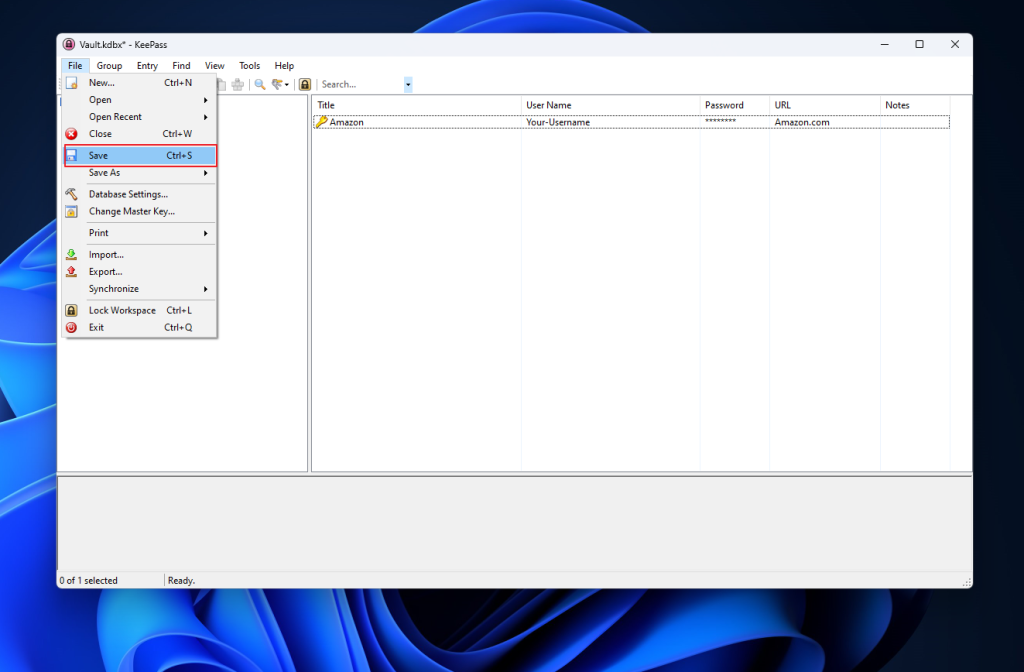
Step 9:
Save Your Work! Remember to safeguard your hard work by saving your KeePass database. Go to the “File” menu and select “Save” to ensure that all changes and new entries are securely stored.
Congratulations!
You have successfully learned how to create new entries in KeePass Version 2.52. By following these step-by-step instructions, you can now efficiently organize and manage your passwords within this powerful password management tool. Remember to utilize KeePass‘ extensive features to enhance your overall password security. Safeguarding your digital life has never been easier!